NEW: How To Develop Your Technical Skills, Business Expertise, And Creative Vision In All Areas Of Photography ...Even If You Are a Beginner!
If you want to become an amazing photographer, and create awesome photographs and be able to edit them like a pro, ...even if you are a beginner without any experience, please watch every second of this video and read every word on this page and let our passionate and experienced photography mentors show you the way!
Order Before the Timer Hits Zero and Save
TAKE ACTION. SIGN UP NOW!
Limited Time-ONLY $97

Expert Guidance from Seasoned Mentors:
Immerse yourself in a community of passionate photographers, led by mentors with over 100 years of combined experience in all aspects of photography and photo editing. Our mentors are not just experts; they're artists who have captured countless stories and emotions through their lenses.
Comprehensive Video Tutorials:
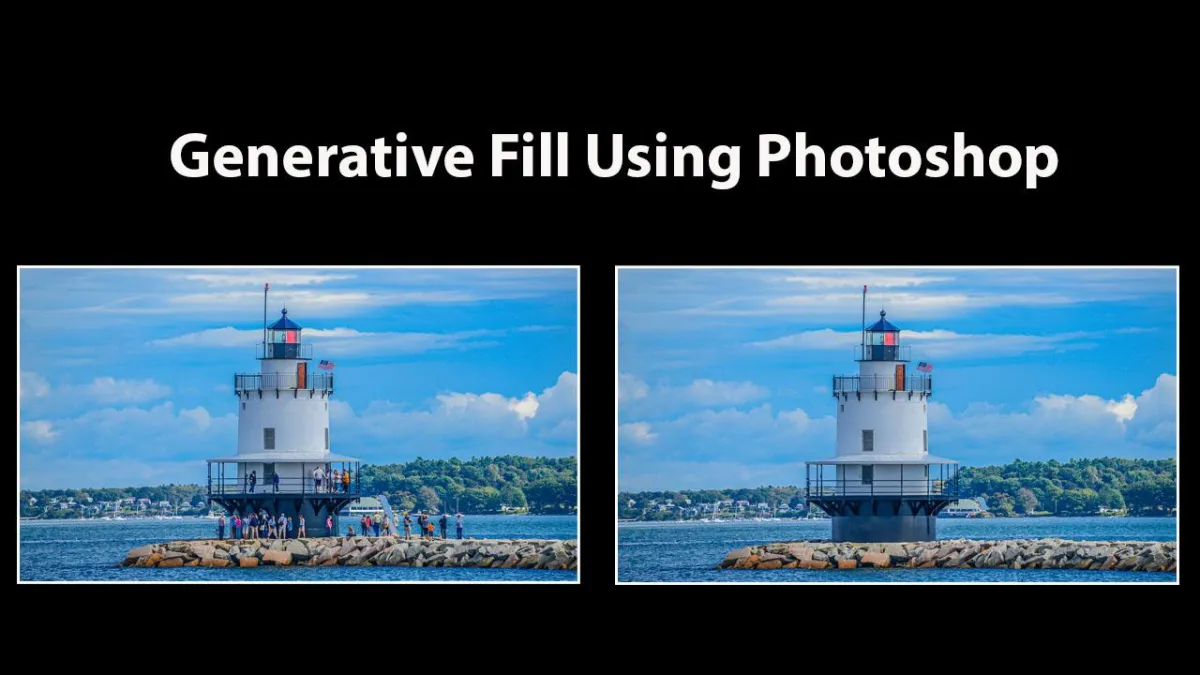
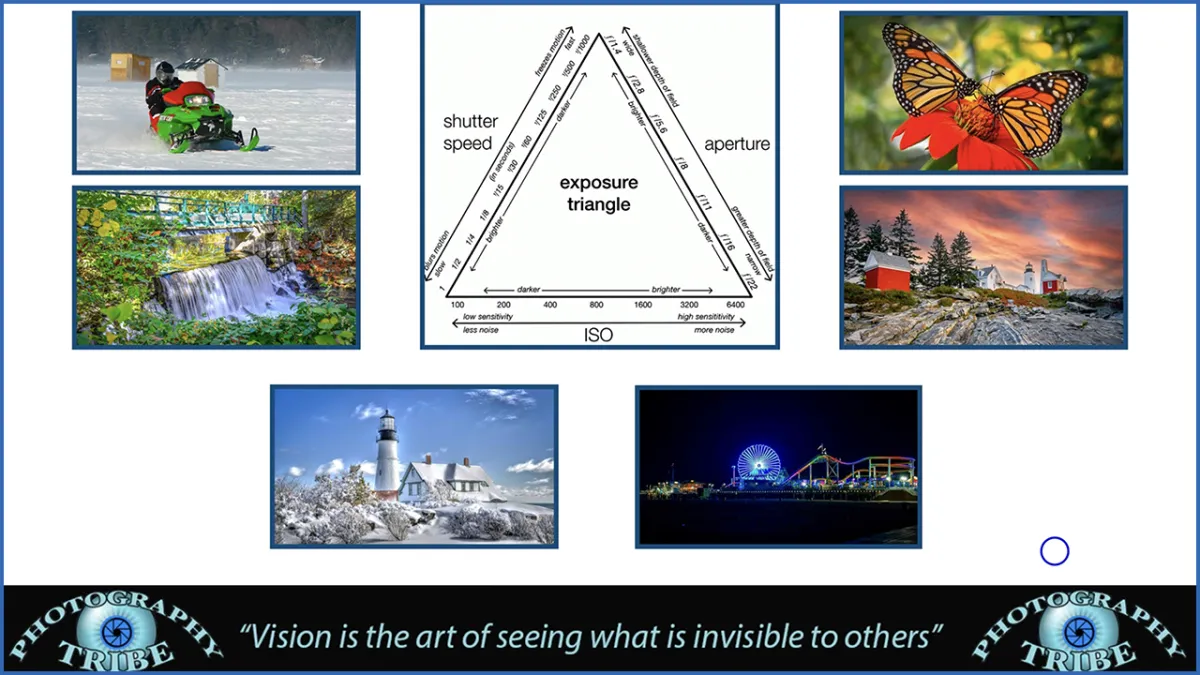
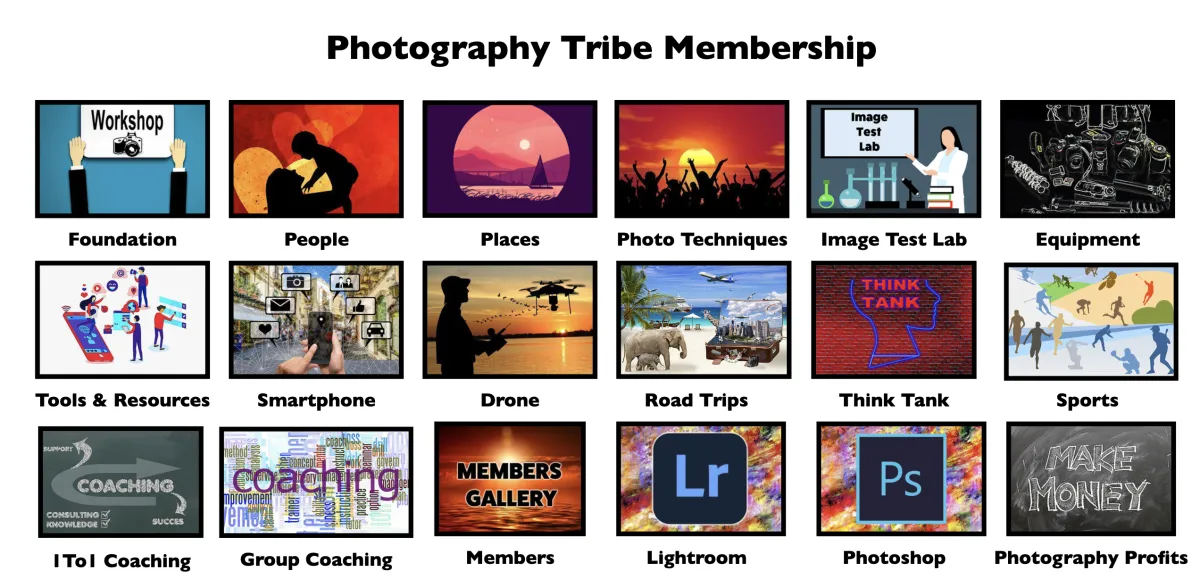
Our library of video tutorials covers a wide range of topics, from mastering camera settings and lighting techniques to advanced post-processing and the latest AI integration. Dive into these easily digestible lessons that cater to beginners and experienced photographers alike.
Rich Array of Photography Resources:
Access a treasure trove of resources, including downloadable cheat sheets, composition guides, and editing presets. These tools are designed to enhance your learning and provide practical solutions for your photography challenges.
TAKE ACTION. SIGN UP NOW!
Limited Time-ONLY $97

Weekly Coaching Calls:
Join our live weekly coaching calls, where you'll have the opportunity to interact directly with our professional mentors. Seek advice, share your progress, and receive personalized feedback on your work. These calls foster a dynamic learning environment and help you build connections within the Photography Tribe community.
Community Engagement and Support:
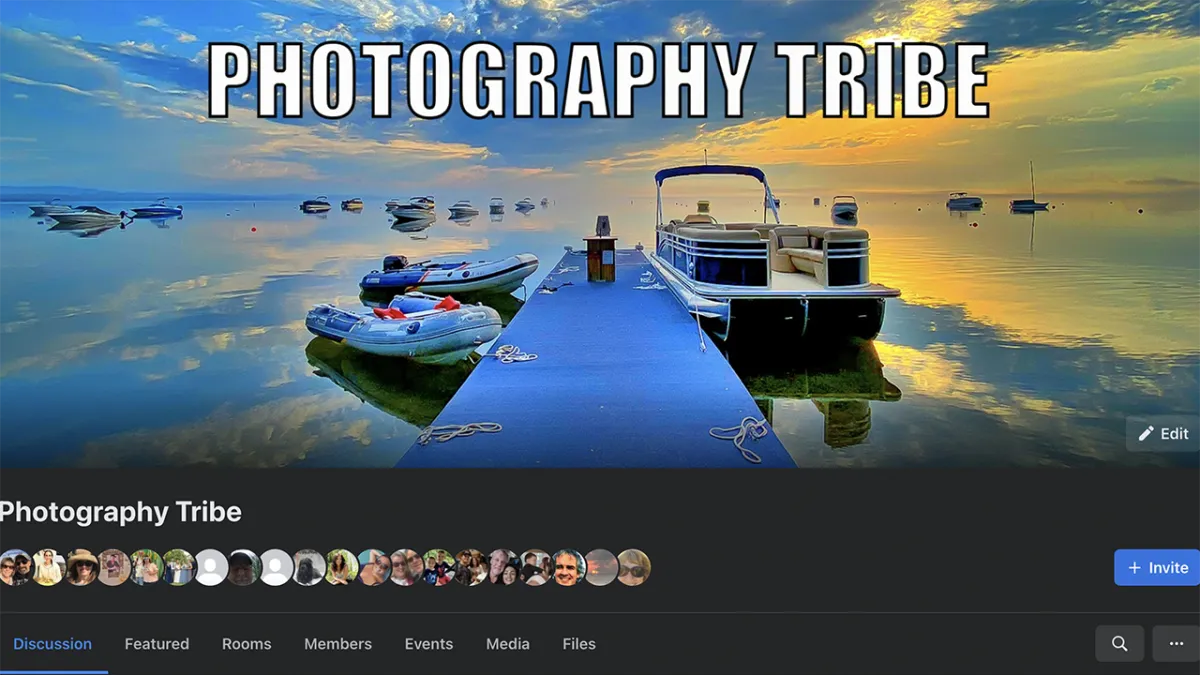
Connect with fellow photographers who share your passion. Our community forums are a space to ask questions, exchange ideas, and collaborate on projects. The Photography Tribe community is a source of inspiration and encouragement on your photography journey.
Continuous Learning and Evolution:
Photography is ever-evolving, and so are we. Our mentors stay current with the latest trends and technologies, ensuring that your learning experience remains cutting-edge and relevant to the industry's demands.
TAKE ACTION. SIGN UP NOW!
Limited Time-ONLY $97
Join the Tribe Today:
Whether you're drawn to the technical intricacies of photography or the artistic nuances of editing, Photography Tribe welcomes you with open arms. Unleash your creativity, harness your technical skills, and capture moments that tell compelling stories. As a member of Photography Tribe, you're not just learning; you're becoming part of a supportive, inspiring, and dedicated community of photographers.
Elevate your photography to new heights. Join Photography Tribe today and embark on a transformative journey of self-discovery and artistic expression.
This Page Expires When The Timer Hits Zero.
The Investment
A lot of online photography memberships on the market can set you back a lot of money, like $997 per year.
Or you could join a photography coaching program but those can be a staggering $500 per month.
But this membership contains even more than what you'll learn with those expensive alternatives, but at a fraction of the cost.
The price of this membership is just $297 per year ...which is almost $700 per year LESS than what you'd pay for a higher end photography memberships.
But it gets even better that that, for a short period of time we are offering an unbelievable
discount price of only $97 per year as a founding member of Photography Tribe.
I know that once you go through the materials, you'll absolutely love it
...And I'm hoping that maybe you'll tell your friends about it and give it a nice review :-)
You will learn more from this membership (and get better results) than you would from taking something that's ten times more expensive.
So I know that if I do a good job for you in this membership, you'll probably want to remain a member of this membership long into the future.
So secure your discounted founding members annual price today (price is grandfathered at an annual rate of $97 for as long as you remain a member). Hit the button below and lock in your price before we change from the founding members price to the normal price of $297 per year.
TAKE ACTION. SIGN UP NOW!
Limited Time-ONLY $97
Copyright 2024 Photography Tribe | Privacy | Terms |
235 Gore Road Naples Maine. Tel: (978) 774-5533 Email: [email protected]